
Media blocks
[This is using the Cover media block]
Following on from the User guide to text blocks, when creating a WordPress blog, sometimes it is hard to know which type of media block you want to use, and also tell how it is going to look when published. So for this reason, we have created this post to show you what they (some not all) look like and can do.
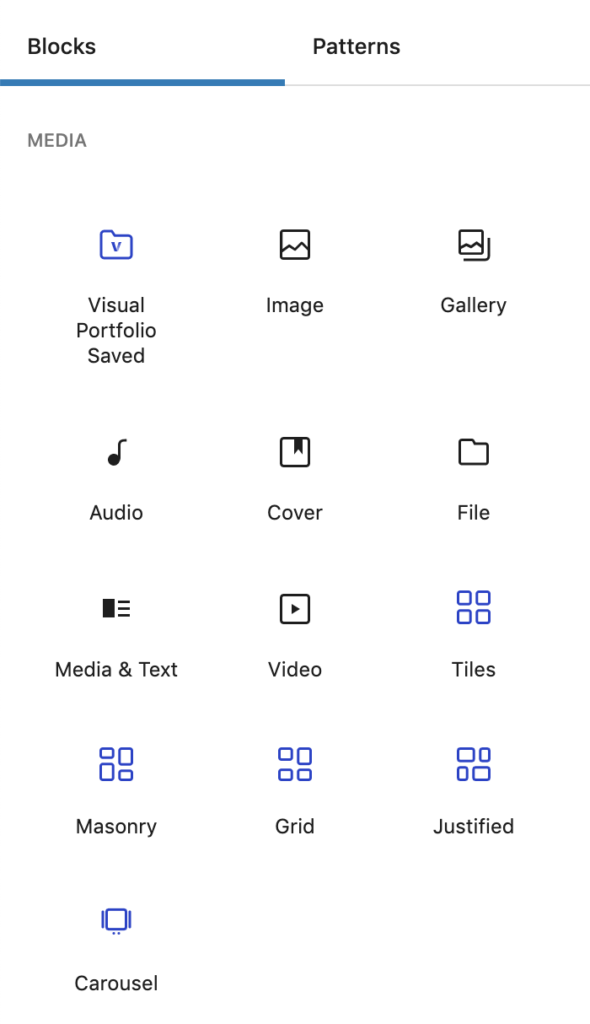
When you push the little blue + at the top right of your screen, you will see these ‘MEDIA’ options (or if you push the black + in your blog workspace you will get a smaller version of this and prompted to search).
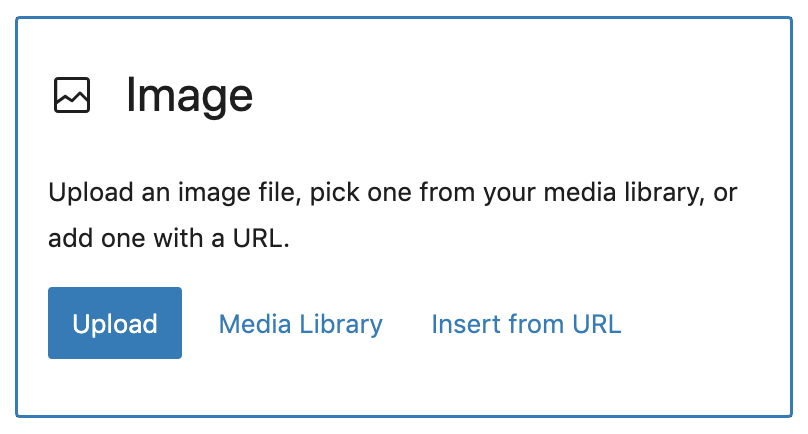
The most basic of these blocks is Image and Media & Text. They will both provide you the options to upload an image from your computer, pick an image already loaded in your media library or insert from URL, as below.
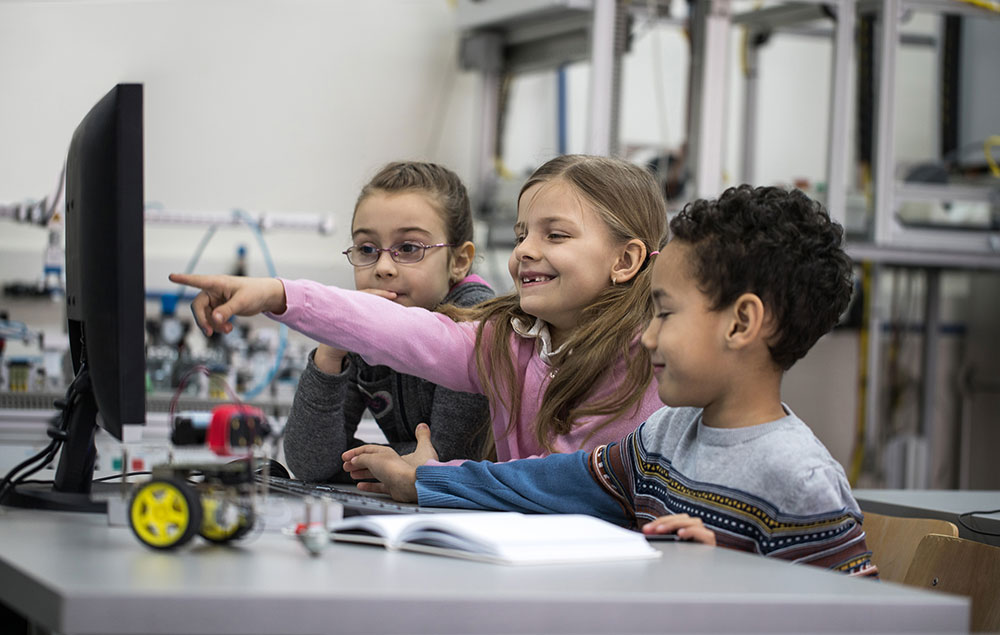
When an image is inserted it by default will go full width and look like below:
Media & Text example.
Attached to the block you have the option to place image to left or right. Upload/insert image, and type in text.
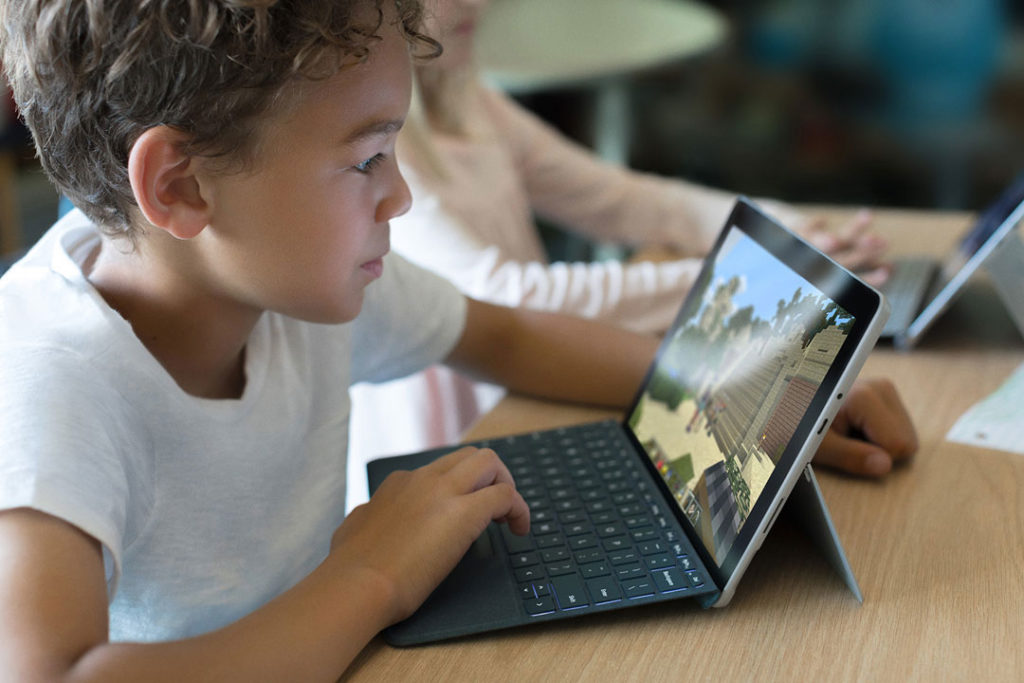
Gallery is the easiest option for displaying lots of images, below we have loaded 11 images and set the gallery columns to 6 (settings are found to the right of the blog workspace).


File gives you the ability to load a document/pdf/media file and adds a button to the block. It behaves very similar to a link. For example:
Similarly you can add a Button and link to another website or another page. Button has options, to the right of your workspace, to change size, colour etc
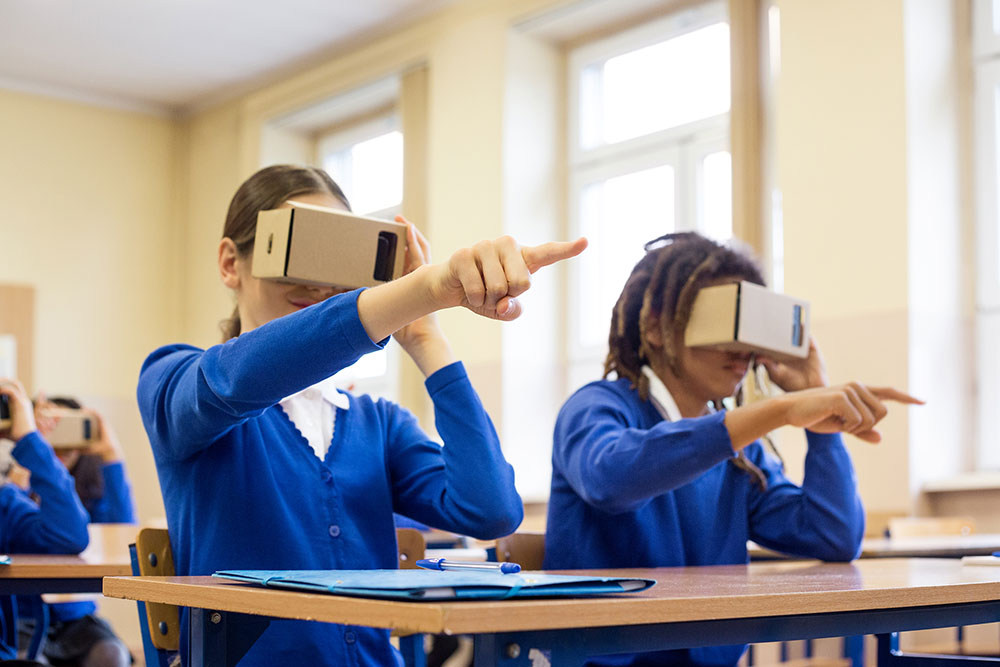
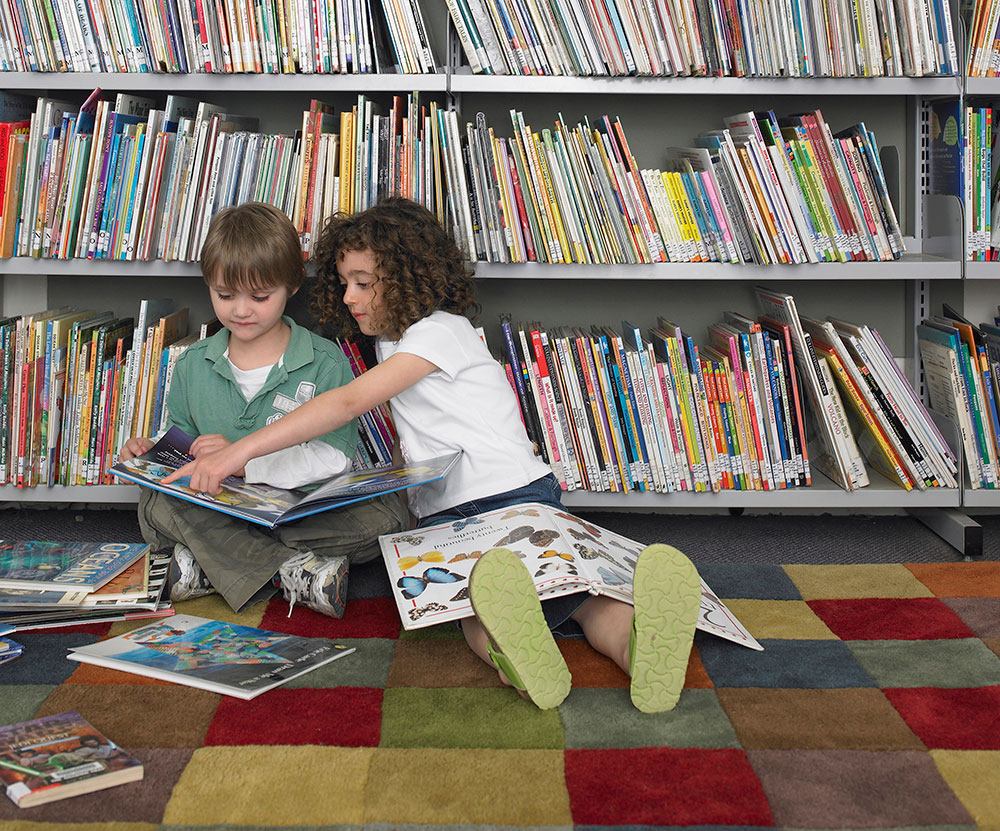
The blue icons [visual portfolio blocks] are media options with more advanced settings. Please contact TTS for some guidance on using these or have a play with the settings yourself to see what you can create. Visual Portfolio options include: Tiles, Masonry, Grid, Justified, and Carousel (example below).
student-in-classroom-secondary-01
computer-class-01

classroom-02

student-in-classroom-primary-03

minecraft-education-01

student-in-classroom-primary-02
Not sure about creating a blog? Our team can help.
Get in touch to talk to someone about it