When creating a WordPress blog, sometimes it is hard to know which type of text block you want to use, and also tell how it is going to look when published. So for this reason, we have created this post to show you what they (some not all) look like and can do.
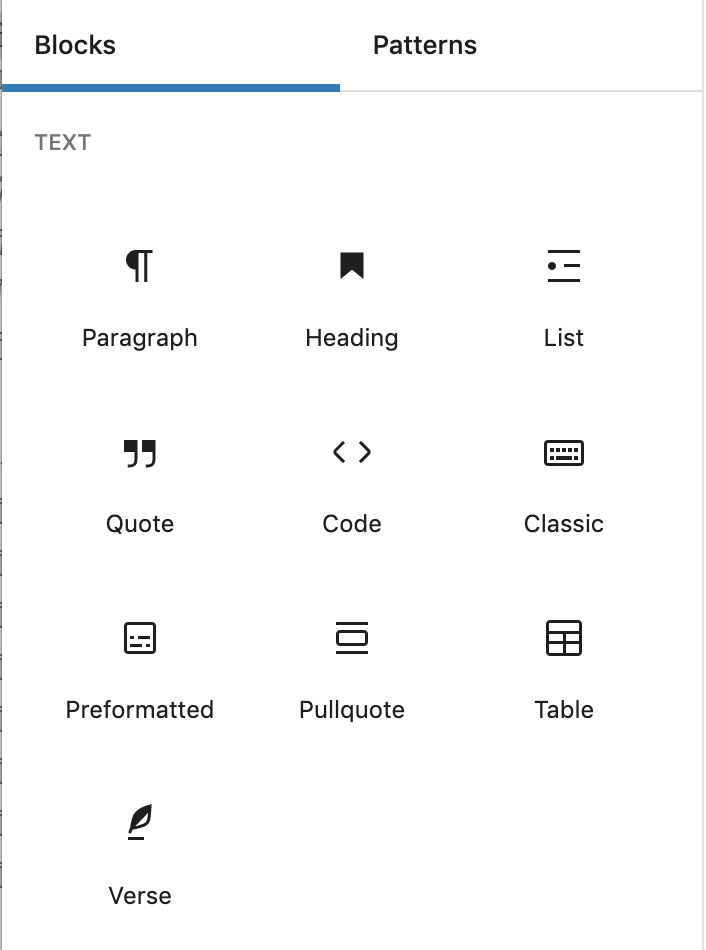
When you push the little blue + at the top right of your screen, you will see these ‘TEXT’ options (or if you push the black + in your blog workspace you will get a smaller version of this and prompted to search).
For a post that is majority text, we would recommend using the Classic block type.
When in your workspace it looks like below, with the options you would expect to edit text with: Bold, Italic, bullets, alignment options etc
- This is what bullet list in classic looks like

If wanting a heading, choose the Heading block type. Below are the what the heading sizes display like:
Heading 1
Heading 2
Heading 3
Heading 4
Heading 5
The Paragraph text block seems to be the logical choice for adding text, it is often the first suggestion, but beware Paragraph does not recognise paragraph spacing/double returns – you will need to manually add spacing to your paragraphs. There are a couple of benefits to Paragraph though, you can use this type of block to add a Drop cap or colour, as below:
Setting for Drop Cap or Colour are found to the right of your blog workspace.
Since manual spacing has been mentioned, if this is needed, you will need to know how to add it. In your blog workspace, hover between two blocks and the below indicator should appear:

… click on the + and search for ‘space’. A block called Spacer (double ended arrow icon) should be your only option. When added, you can choose in your settings to the right how tall/big this spacer is.
“To quote a famous saying use a large Quote text block”
– Anonymus
This is what a solid Pullquote text block looks like
– Colour choices can be selected in your workspace from the settings on the right
Below is an example of table. The default setting will give you use of a table grid (columns and rows) with no lines or shading, below is an example of the ‘stripe’ table style. Settings for table are found on the right of the blog workspace.
| Header | Header | Header | Header |
|---|---|---|---|
| Text left | Text centre | Text centre | Text right |
| Text left | Text centre | Text centre | Text right |
| Text left | Text centre | Text centre | Text right |
To look at adding media, please read User guide to media blocks
Not sure about creating a blog? Our team can help.
Get in touch to talk to someone about it